Phone Controlled Robotic Arm
This project is a Robot Arm which can be controlled using an app on your phone that is created using MIT App Inventor.
| Engineer | School | Area of Interest | Grade |
|---|---|---|---|
| David Chang | Monta Vista Highschool | Computer Engineering & Computer Science | Incoming Junior |

Demo Night
Throughout the three weeks at Bluestamp there were some challenges and the main challenge was working with the ultrasonic sensor since we only got a day to work on our modification. Overall, I enjoyed every aspect of the building and coding portion of this project, and in the future, I would like to have a major in engineering.
Final Milestone
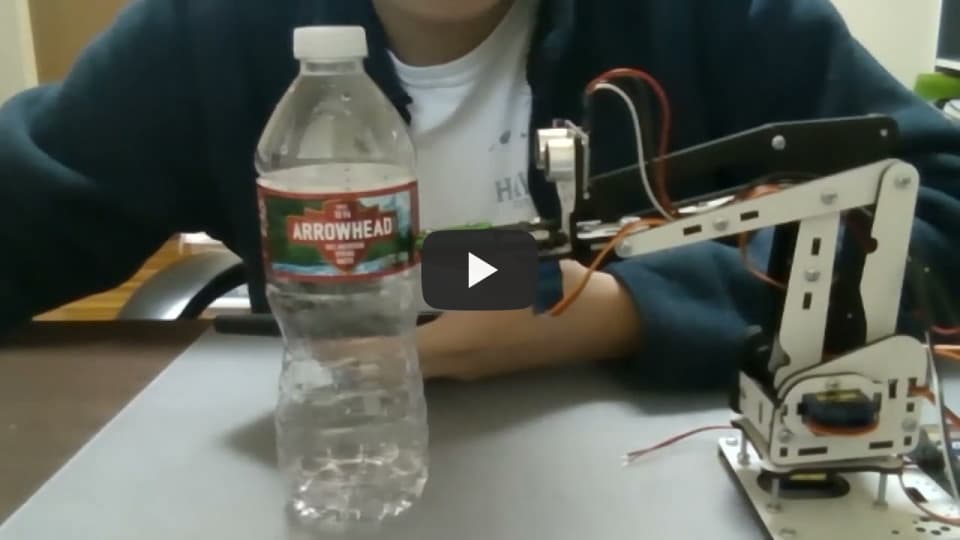
For my final milestone, I was able to code it so that I can control the robot arm from the app on my phone, and I also added a small modification. I added an ultrasonic sensor that will detect if there is any object near the claw and it will notify me through the app and it will also tell me how far away is the object from the claw. What an ultrasonic sensor does is that it sends a soundwave through one end of the sensor and receives the soundwave through the other, and this is how it can tall if there is an object in front of it and how far away is it. For this, to work I needed to code the app so that it will take in inputs from the ESP32 because I connected the ultrasonic sensor to the ESP32. I created a global variable that will store the distance that the ESP32 sends in. A global variable is a variable that can be accessed anywhere throughout the code. Once the variable is declared, I used if statements so that if something is being printed to the Bluetooth serial monitor, the code will read it in and store it as the global variable. And from there I changed the text so that it will tell you that there is an object nearby and how far away is it.

Second Milestone
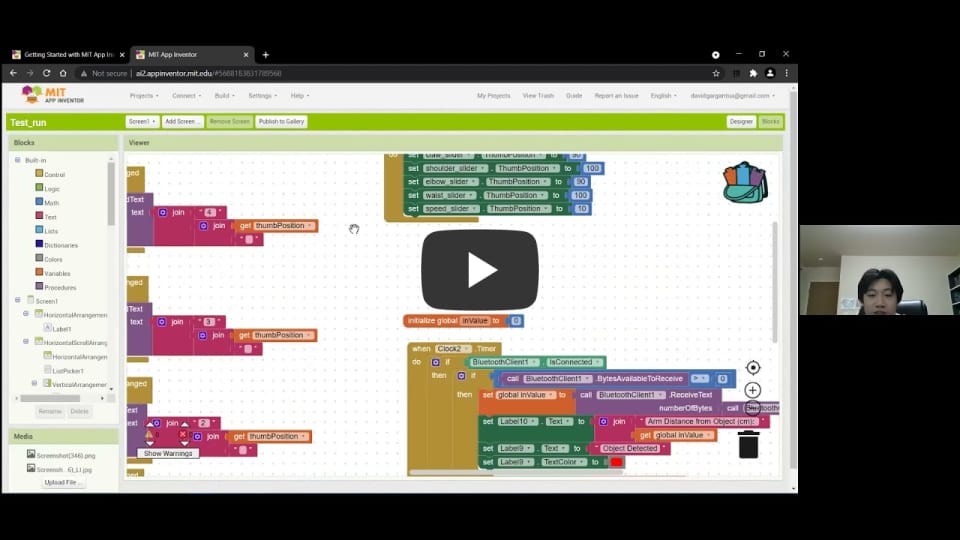
My second milestone was creating the app on MIT App Inventor and using the slider on the app to send information onto the serial monitor on my computer. So for this to work I swapped out the Arduino UNO with an ESP32 since the ESP32 has a built-in Bluetooth and wifi system, so it would be easier to work with than the Arduino Uno. On the MIT App Inventor, I used something called the Bluetooth client. The Bluetooth client is just the Bluetooth server where it will connect to a Bluetooth device when you need to. Other than the Bluetooth client that is in the app, there will be 4 sliders that will control the servos on the arm.
For the coding portion on the MIT App Inventor website, I coded it so that whenever the connect button is pushed, there will be a list of Bluetooth devices that will show up for the user to choose from. Once they choose to connect to the ESP32, there will be a text on the app saying “connected”. There is also a button that is called disconnect, and that will disconnect you from the Bluetooth device you were connected to. For the serial monitor to receive inputs from the changes done in the app, the esp32 has to include a library that incorporates Bluetooth so that whatever is changed in the app, the ESP32 will receive. On the MIT App Inventor website, I coded it so that when the slider position changed, it will be sent to the ESP32 and will be printed onto the serial monitor.


First Milestone
My first milestone was building the robot arm and hooking up all the wires onto the breadboard and Arduino. On the Arduino, there would be one wire that goes into the ground power and one that goes into the 5 volts. On the other end of the wire, they will be connected to the breadboard. The 5 volts jumper will be connected to the positive column of the breadboard, while the ground power jumper will be connected to the negative side of the column. And to connect the servos there will be three wires, one will be connected to the same column as the ground power, one will be connected to the same column as the 5 volts wire, and one will connect from the servo directly to the Arduino digital port. I connected the wires to the PWM ports. What PWM ports do is that instead of turning the servo on and off, you will be able to control the degree the servos are turning to.
I programmed the Arduino so that I can control the robot arm from the serial monitor of the application. I can control the servos separately on the serial monitor or control all of them at once.